Using tool presetters for inspection
Tool presetters are used to measure offsets offline to keep machine tools running. They quickly pay for themselves by reducing downtime on machine spindles. Consider how much time it takes to touch off a tool, run a test cut, adjust the tool and cut again—then multiply that by your average number of tool changes per machine, number of machines, shifts per day and working days per year. Factor in the hourly burden rate for your machine and oftentimes the cost of a presetter is justified in less than a month.
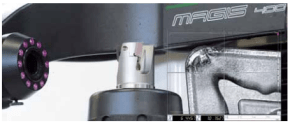
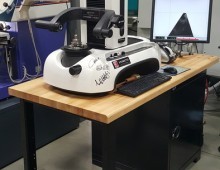
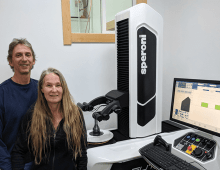
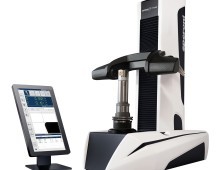
The Speroni Episcopy is a front-light system used to inspect the cutting edge of a tool. The operator can check inserts for wear or verify surface finish on reground tools.
However, using a presetter to measure offsets is only part of what these machines can do. After all, a probe or laser can do that for a lot less money. It is important to think of a tool presetter as an inspection device too.
How often do you measure tool runout? Runout will decrease tool life and part accuracy. Compromised part accuracy could lead to scrapped or reworked parts. How will you know the impact runout has if you don’t check it? You could be wasting thousands of dollars buying tools that could have been adjusted, indexed or reground instead.
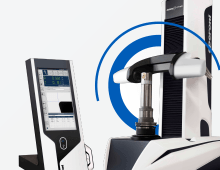
Measuring maximum length and diameter is critical, but what about the other geometries on a tool? Step tools may have several critical dimensions that can easily be checked on a vision-based tool presetter. Lathe tools may also have unique geometries that require verification. All can be easily measured and verified by using measuring icons on a vision-based tool presetter.
A vision-based presetter will also include a front light for visually inspecting the cutting edge of a tool. You can check for wear, fractures and surface finish on reground tools. Advanced software can even allow you to compare what you see to saved images so the operator has a standard of what is acceptable.
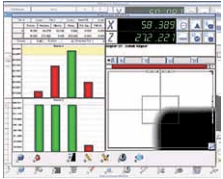
Variance in each flute measurement is shown in a bar graph. Green denotes measurements are within specification, red means they’re out. Above the graph, numeric data displays the minimum and maximum measurements, as well as the range—also known as runout.
Data management can allow the operator to confirm the correct components were used to build the tool, determine if the tool is within specified tolerances and confirm they are kitted in jobs correctly.
This data can be synced with tool data management or CAM software to reduce redundancy. A tool presetter is a wise investment for many reasons. Not only will it increase efficiency and reduce setup time, but, if you make the most of it, a tool presetter can be used for a wide range of inspection functions.

Did you find this interesting or helpful? Let us know what you think by adding your comments or questions below.